One of the best planetariums in the Tokai region! Milky Way photographed at Odaigahara
掲載日:2021.06.02
Introducing how to take the most beautiful pictures of the Milky Way at Odaigahara, where you can see one of the best starry skies in the Tokai region. If you look at this, you too will be able to take the best photos right away!
A young landscape photographer from Mie Prefecture will teach you all the information you need to know to take pictures of the Milky Way at Odaigahara!
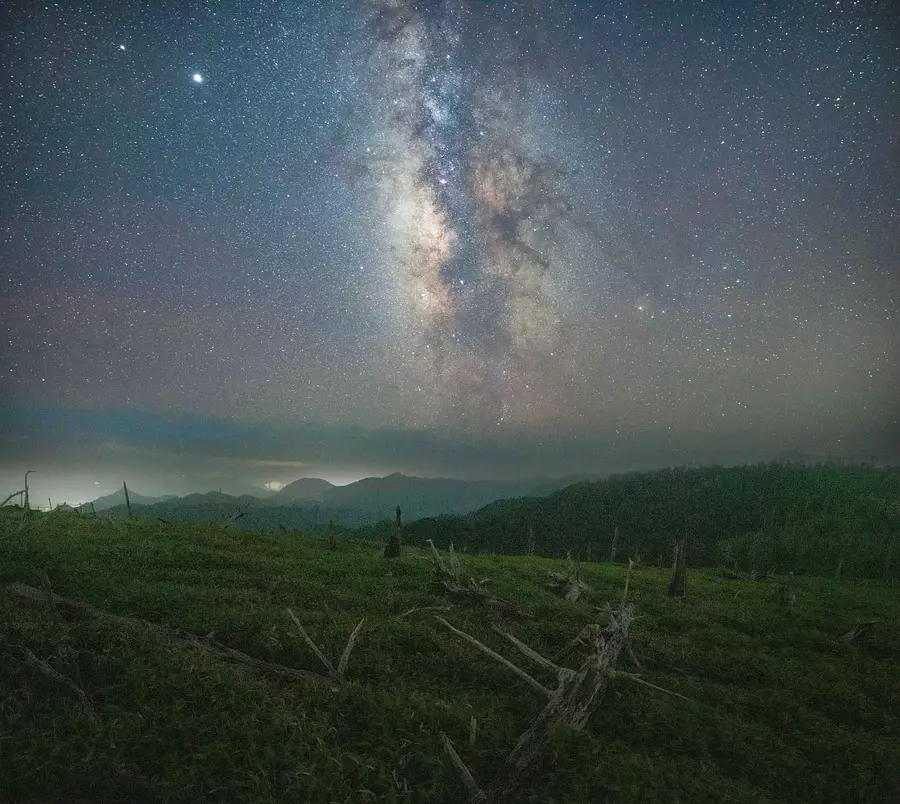
Hello, this is Koshi Iguchi.
This time, I would like to introduce Odaigahara, where you can see one of the best starry skies in the Tokai region.
This may be a bit sudden, but I'm sure many of you are wondering, "Isn't Odaigahara part of Nara?"
No, "Mie."
Strictly speaking, the area near the summit of Higashidaidai is Mie!
Mt. Hidegatake, the highest peak in Odaigahara, and the dead trees, wooden path, and observatory that are photographed with the Milky Way at Odaigahara... actually, they are all Mie!
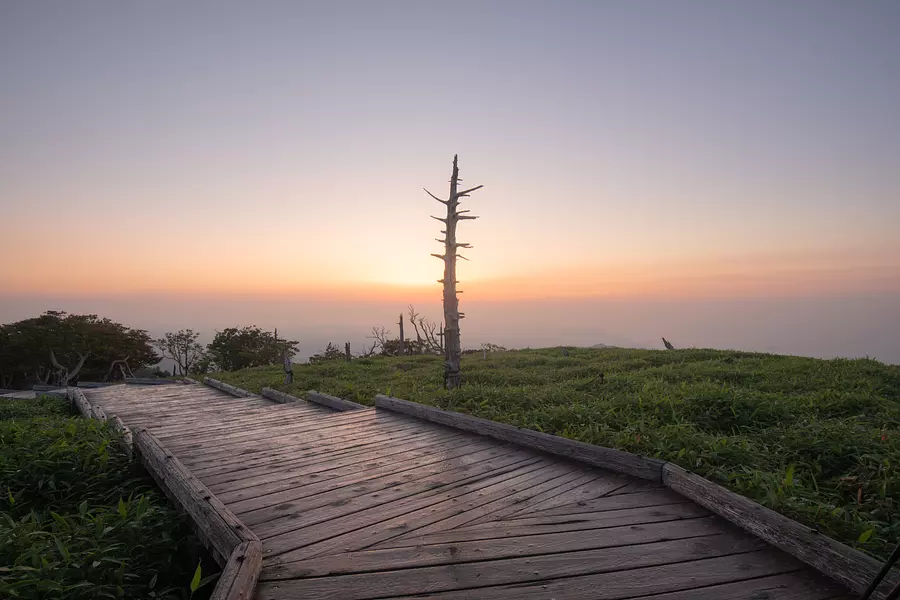
・What is Odaigahara?
A mountain located on the prefectural border between Odai Town, Mie OdaiTown and Yoshino District, Nara Prefecture, it is a sacred place for stars, famous as the spot where you can see the most beautiful stars in the Kansai region!
Odaigahara homepage is here↓
Odaigahara Visitor Center
Even in the summer, it can be very cold, and if the wind is strong, there will be days when it will be too cold to wear short sleeves, so be sure to bring warm clothing.
※Note
The Milky Way photography point at Odaigahara is a mountain climbing course. Although this is a beginner's course, night hiking for stargazing can be dangerous. Please hike the mountain once during the day and familiarize yourself with the course before entering the mountain.
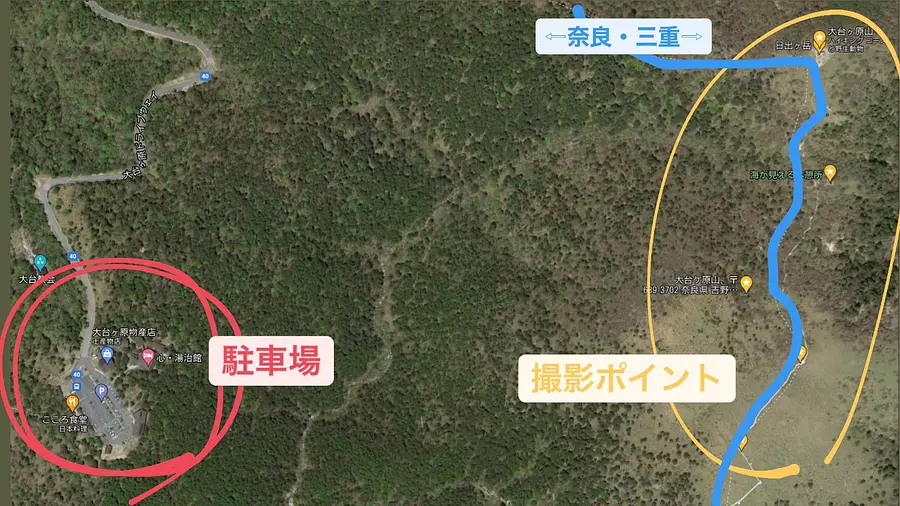
・Location, access
First, we headed for the Odaigahara Visitor Center, which is the parking lot and the trailhead.
The visitor center is located in Nara Prefecture, so if you head from Mie Prefecture, you will have to make a big detour and go through Nara Prefecture.
For details, please check with a map application such as Google Maps.
Click here for the location of Odaigahara Visitor Center
The parking lot is quite large, so it's unlikely that you'll run out of parking space. There is also a signboard with a map of Odaigahara, but be sure to check it out before heading there.
Restrooms are also available, and shops and restaurants are open during the day.
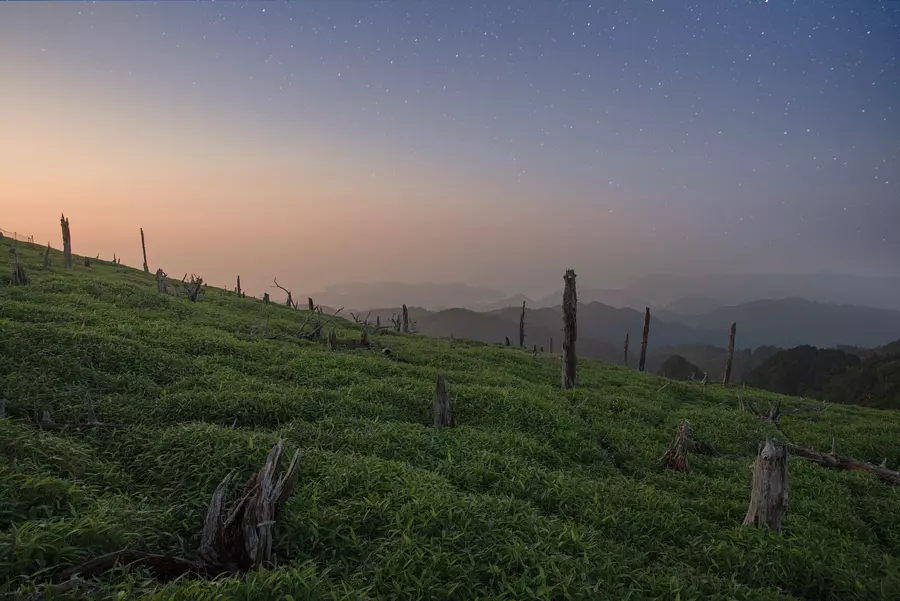
・Photography time and direction
The season for photographing the Milky Way (stars) is from February to October, but due to winter road closures, you can only photograph the Milky Way at Odaigahara from April to October.
Also, the most important thing to keep in mind before going to photograph the Milky Way is the phase of the moon.
Let's aim for the new moon period when the influence of moonlight is less.
You can easily find out if it's a new moon by looking it up, but I've summarized the new moon timing in 2021 below, so please use it as a reference!
June 2021: 6/6~6/16
July 2021: 7/5~7/14
August 2021: 8/4~8/12
September 2021: 9/3~9/11
October 2021: 10/3~10/10
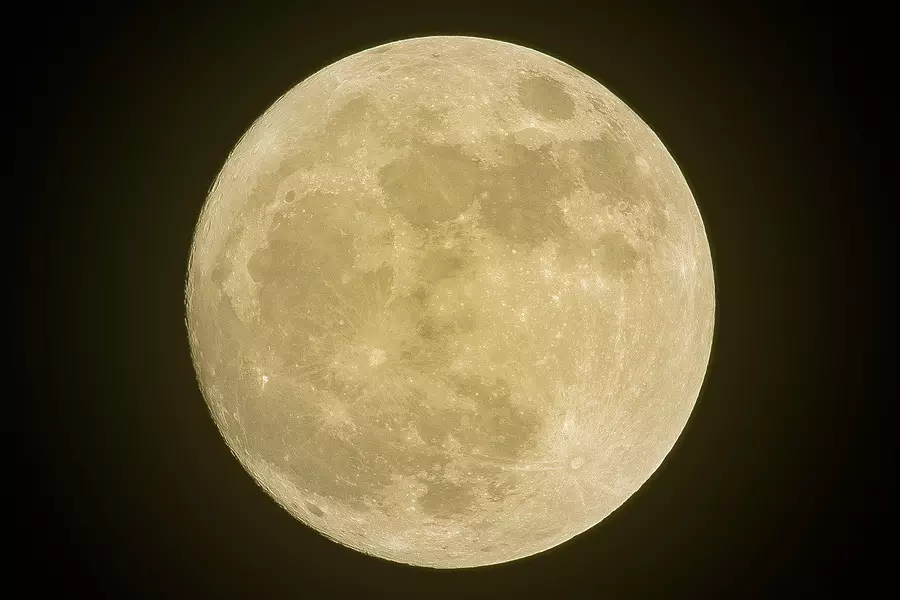
I listed the new moon phase above, but there are also apps that allow you to easily know the phase of the moon, so please try using that too.
If you use this, you can check the new moon period for each month at a glance.
Of course, you can see the Milky Way with your eyes from Odaigahara!
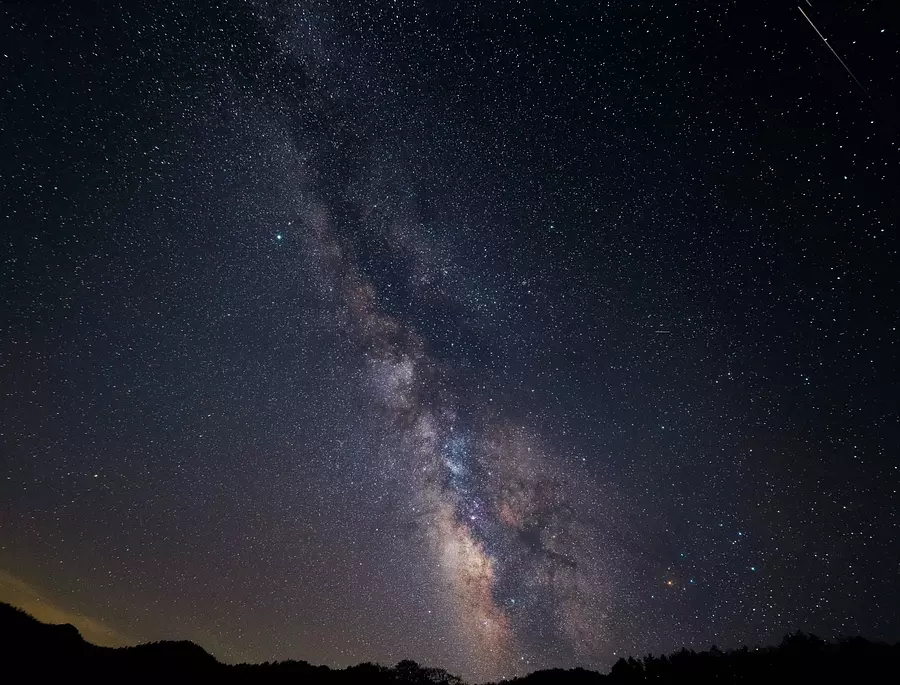
Up to this point, we have introduced apps that support moon phase calendars, constellation charts, and Milky Way photography. There is also an app that is great for photographers and is great for photographers, as it links up with Street View and allows you to see it virtually.
That is "Sun Surveyor"!
This app is your best companion when photographing the Milky Way. Of course, it is useful not only for the Milky Way, but also for everyday landscape photography.
The iOS version costs 1,220 yen, which is a bit expensive for an app, but it's definitely more useful than its price, so if you're serious about taking landscape photos or want to take them in the future. If so, please get it.
Sun Surveyor: for iOS
Sun Surveyor: for Android
*Although I have introduced the app, it is not a stealth marketing or anything like that. I use it myself and find it very useful, so I would like to introduce it to you.
・Preparation for shooting
[About the lens]
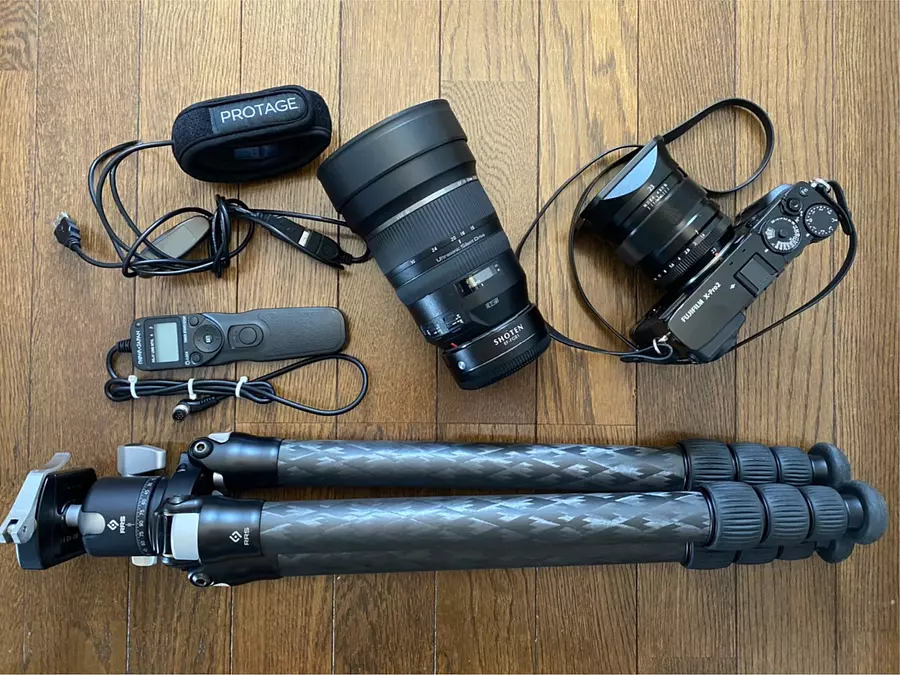
First of all, the main premiseLens with small open F valuewill become necessary!
It's a bright lens.
If you want to seriously photograph the Milky Way, a lens that can be set to F2.8 or lower is ideal.
Of course, you can also take pictures with F3.5 or F4 kit lenses, so let's try that first.
Also, it is preferable to use a lens with a wider focal length than 24mm (full-frame equivalent).
For example, a lens like the NIKKOR Z 14-24mm f/2.8 S.
This lens costs about 300,000 yen, but there are many lenses that can take pictures of stars at a more affordable price. I would like to know which lens for star photography is recommended for my camera! ”For those who say, to my Instagram If you contact us via DM, we will make recommendations for each. Please feel free to contact us.
[About the tripod]
Next, the most essential item for star photography is a tripod.
You will never be able to take beautiful pictures of stars without a tripod. A tripod for around 10,000 yen sold on Amazon etc. is sufficient, so be sure to get one.
To be honest, you can take pictures of the stars as long as you have a bright lens and a tripod.
Below, I will introduce things that will make shooting easier if you have them.
[About the release]
It's not an essential item, but it definitely makes shooting easier.
It also helps reduce slight shaking.
[About lens heater]
This is an item that I wish I had more than a release.
If you try to photograph stars when the humidity is high or the temperature is low, the lens may become cloudy due to condensation. This is an item to prevent that.
Condensation can make the stars look blurry and cause mold on the lens, so it's a good idea to have one.
・Photography method
This is a long introduction, but I would like to introduce how to take pictures.
If you do some research, you'll find a lot of information on how to photograph the Milky Way, and I'm sure many of you already know about it, but please take the time to read it.
[About focal length]
First, let's decide on the focal length.
The best thing to do is to decide according to your personal preference, but if you want to take a picture of a dead tree in the foreground at Odaigahara, set it to 24mm or less.
[About shooting mode]
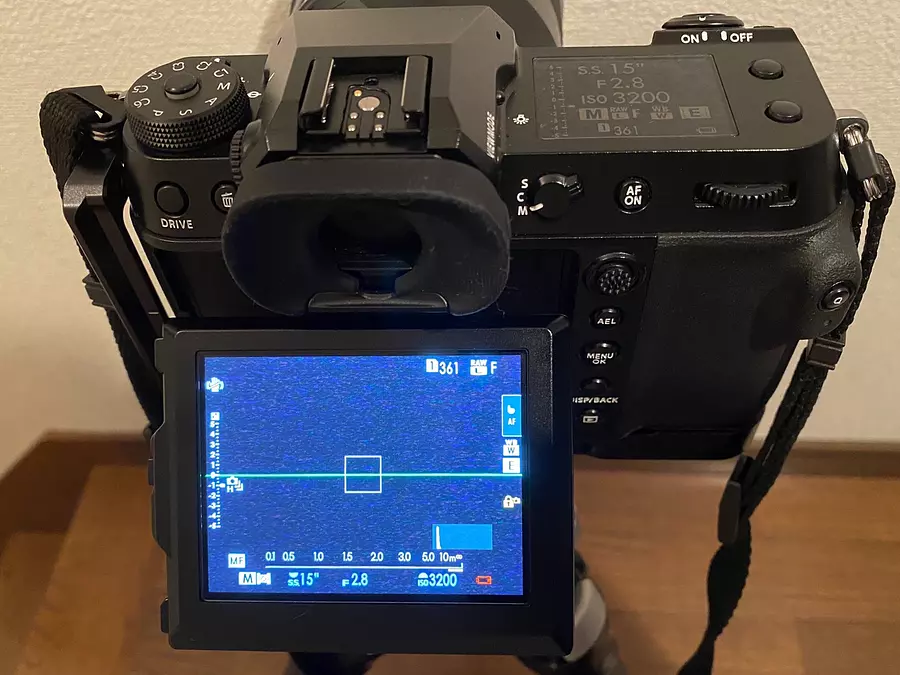
As for the shooting mode, the star is in M mode (manual).
In the previous and previous articles, I recommended A mode, but when shooting at night, I generally use M mode.
The shooting settings for thumbnail photos are
F value: 2.8 ISO sensitivity: 5000 SS: Photographed in 15 seconds.
[About F value]
I think the best F value is between 2 and 2.8, which is the most important factor in star photography.
Shooting with a setting such as 1.8 will give you a brighter image, but it will cause aberrations in the surrounding stars.
There's nothing you can't do with F3.5 or F4, so adjust the ISO sensitivity and SS accordingly.
[About SS]
The next important thing is SS (shutter speed).
The longer the SS, the brighter the shot will be. However, if you make it too long, the stars will drift away due to the Earth's rotation, so be careful.
There is also a `` 500 rule'' that can be used as a guideline for SS that will not flow, and by using this, you can easily know the standard for SS that will not flow.
The formula is as follows.
500÷focal length = approximate SS
Example) When the focal length is 20mm
500÷20=25
In other words, when shooting with 20mm, the time will not run until 25 seconds.
[About ISO sensitivity]
I think it's a good idea to adjust the ISO sensitivity while actually shooting after deciding on the F value and SS.
Gradually increase the brightness from around 1600 and decide on the brightness you like.
Please note that if you increase the ISO sensitivity too much, a lot of noise will appear. The ease with which noise appears varies depending on the camera, but don't raise it too high.
Finally, since my photos alone are not enough examples, I will ask my friends to make friendship appearances.
There are so many great photos, so be sure to check out their Instagram as well!
·summary
Thank you for reading until the end.
I would be happy if there are people who see this and want to take pictures of the stars at Odaigahara.
The appearance of stars really changes depending on where you are.
I couldn't take very good pictures of the stars at my usual location. I'm concerned about light pollution. If so, why not stretch your legs and visit Odaigahara? I'm sure you'll be impressed by the starry sky you've never seen before.
See you again in the next article.
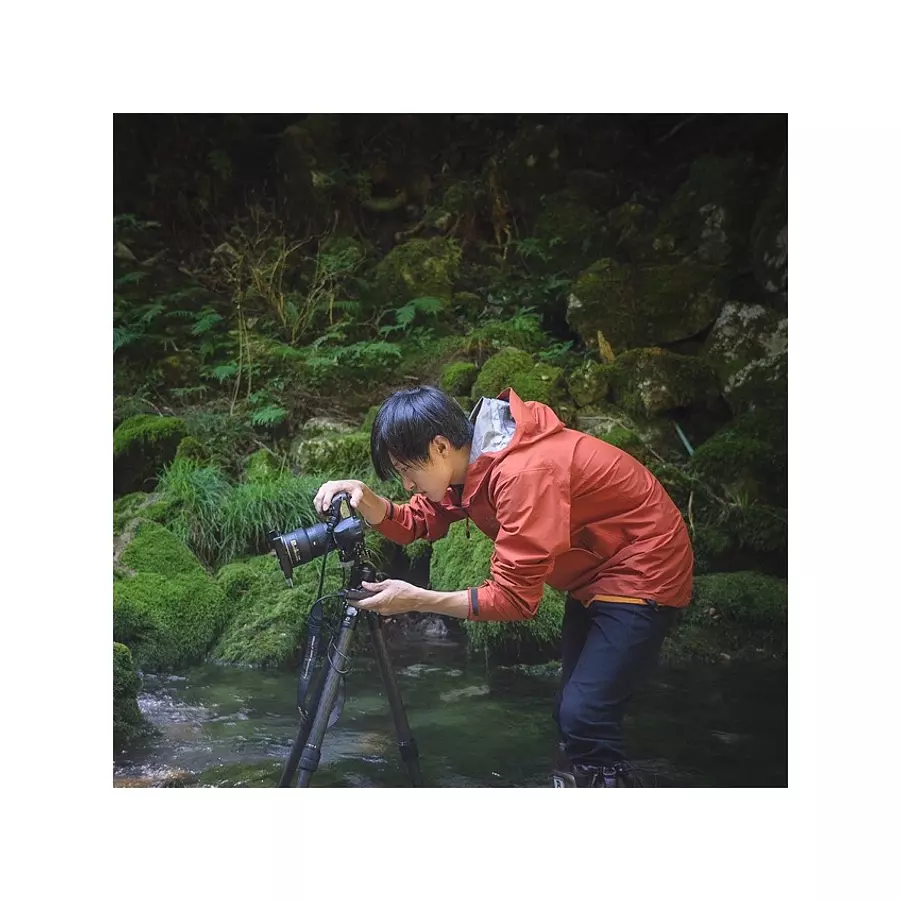
Click here for Koshi Iguchi's previous article↓
Early summer mountain climbing is decided here! Mie's proud unexplored region, Osugidani "Shishibuchi"
Check out Koshi Iguchi's Instagram ↓
Koshi Iguchi Instagram

